Once your creation is complete and you're ready to send it, you can access your Smilebox Address List
Please note: You do not have to send a creation to update your Address Book. To access your address list, follow the same directions shown below.
To learn how to import addresses or upload a CSV file, scroll to the bottom of this article.
To begin the sending process, click Share, Print, or DVD and under Email your creation, click Send to open the Smilebox Address List.
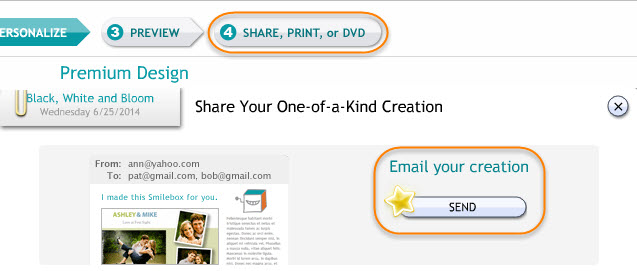
We recommend sending your creation to up to 200 recipients in single send. If you wish to send to more than 200, you can split up the email addresses into groups.
Adding Recipients
To send your creation to multiple recipients, you can type in the email addresses manually and separate each address with a comma, or select the email address from your list and click "Add" (shown below).
You can also copy and paste a CSV (comma separated value) list into the "To:" field. To learn how to export your contacts to a CSV file, please see your mail provider's help page for export instructions, then scroll to the bottom of this article for a step-by-step guide. [Gmail example]
Please note: At this time, we do not offer a group distribution feature. Only one email address can be added from the Smilebox Address List at a time.

Once you've sent a creation, the recipient email address will automatically be added to your Address List.
Edit (or add to) your Address List
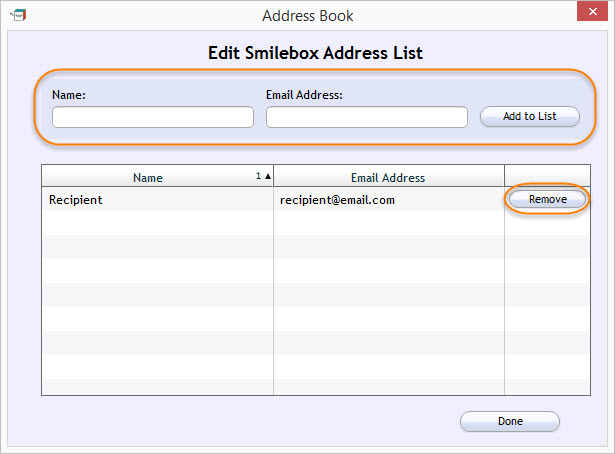
To edit your address book, click "Edit Address List". From here, you can add new recipients to your list or remove addresses.
Please note: At this time, it is not possible to edit an existing entry. If an email address is outdated or incorrect, please remove the entry and input the correct name and address as a new recipient.

Import Addresses
To import email addresses from another provider, click on "Import Addresses" and you will be see the window shown below.
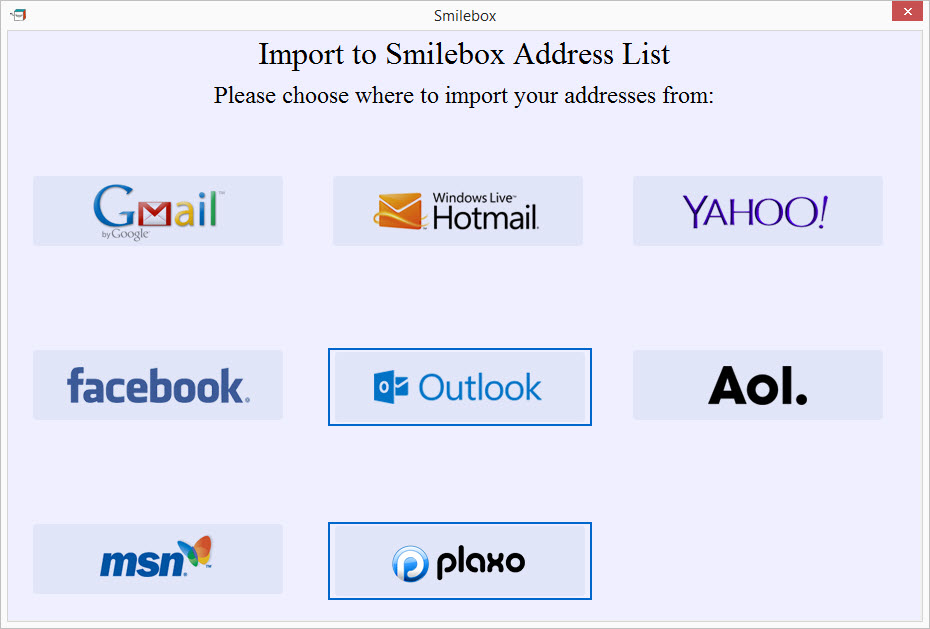
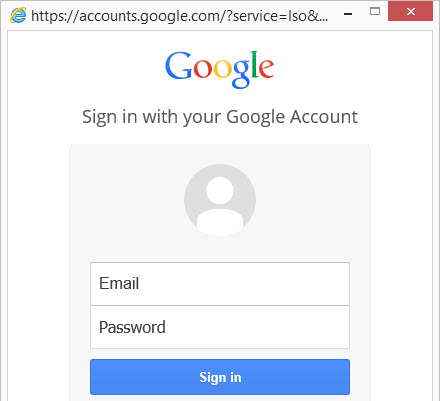
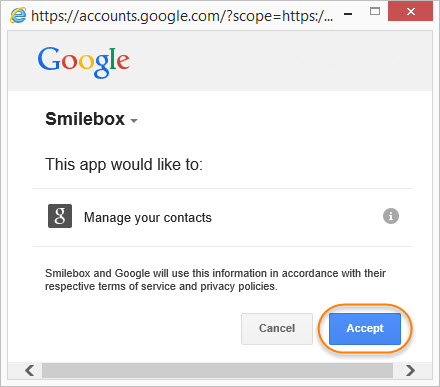
When you select an email provider, a window will pop-up where you can enter your log in information. You may be asked to allow Smilebox to access your information (shown below).
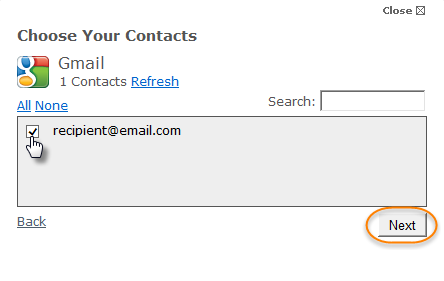
Once logged in, you will see a list of your contacts. Choose which contacts you would like to import and click "Next" to begin loading.
Please note: We do not recommend importing more than 500 addresses at one time.
Once your address list is imported, you will see a message that says "Your Addresses have been added to Smilebox!" and you will see them in your Address List.
If you would like to log in to a different account under the same email provider, you must clear your Internet Explorer cache and reopen Smilebox.
We recommend limiting the number of email addresses you keep in your “Smilebox Address List” for ease of use.
Once your contacts have been exported to a CSV file, you can import them into Smilebox using the Outlook import option.
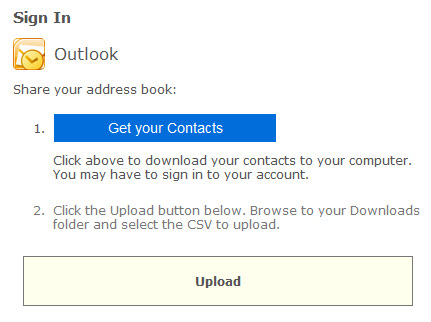
Directions for exporting your contacts using Outlook can be found by clicking "Get your Contacts" (shown below) or by clicking here.
To begin, double-click the "Upload" button shown below and locate the saved CSV file.
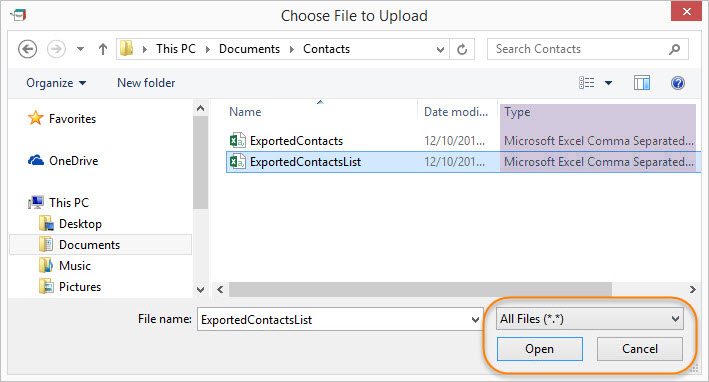
The file should look like an excel file but the 'Type' must be a Comma Separated Value file. When choosing, be sure the file type is set to "All Files (*.*)" as shown below.
An example of a correctly-formatted CSV file from Outlook is shown below.
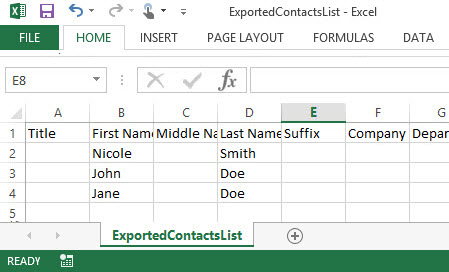
The contacts' name and email addresses should appear in a list. Check the box next to the name of the recipient you would like to add. 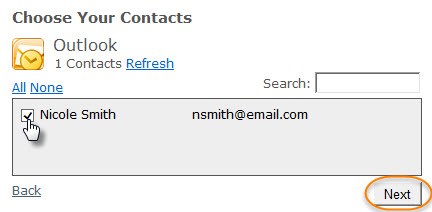
Once done, you will see a message that says "Your Addresses have been added to Smilebox!"
From here, be sure to close the Import window, and you should find your newly added contacts in your Smilebox Address List.
Upload a vCard file (Mac)
1) Export your email addresses to a vCard file (.VCF).
Here is a link to guide you with this process:
https://support.apple.com/kb/PH11586?locale=en_US
2) Import vCard file (.VCF) to your Gmail account.
Here is a link to guide you with this process:
https://support.google.com/mail/answer/183711?hl=en
3) Finally, import the email addresses from your Gmail account to Smilebox.
Please refer to our article:
[Working with the Address Book before sending a creation](https://smilebox.zendesk.com/entries/24064433)